 Skip to content
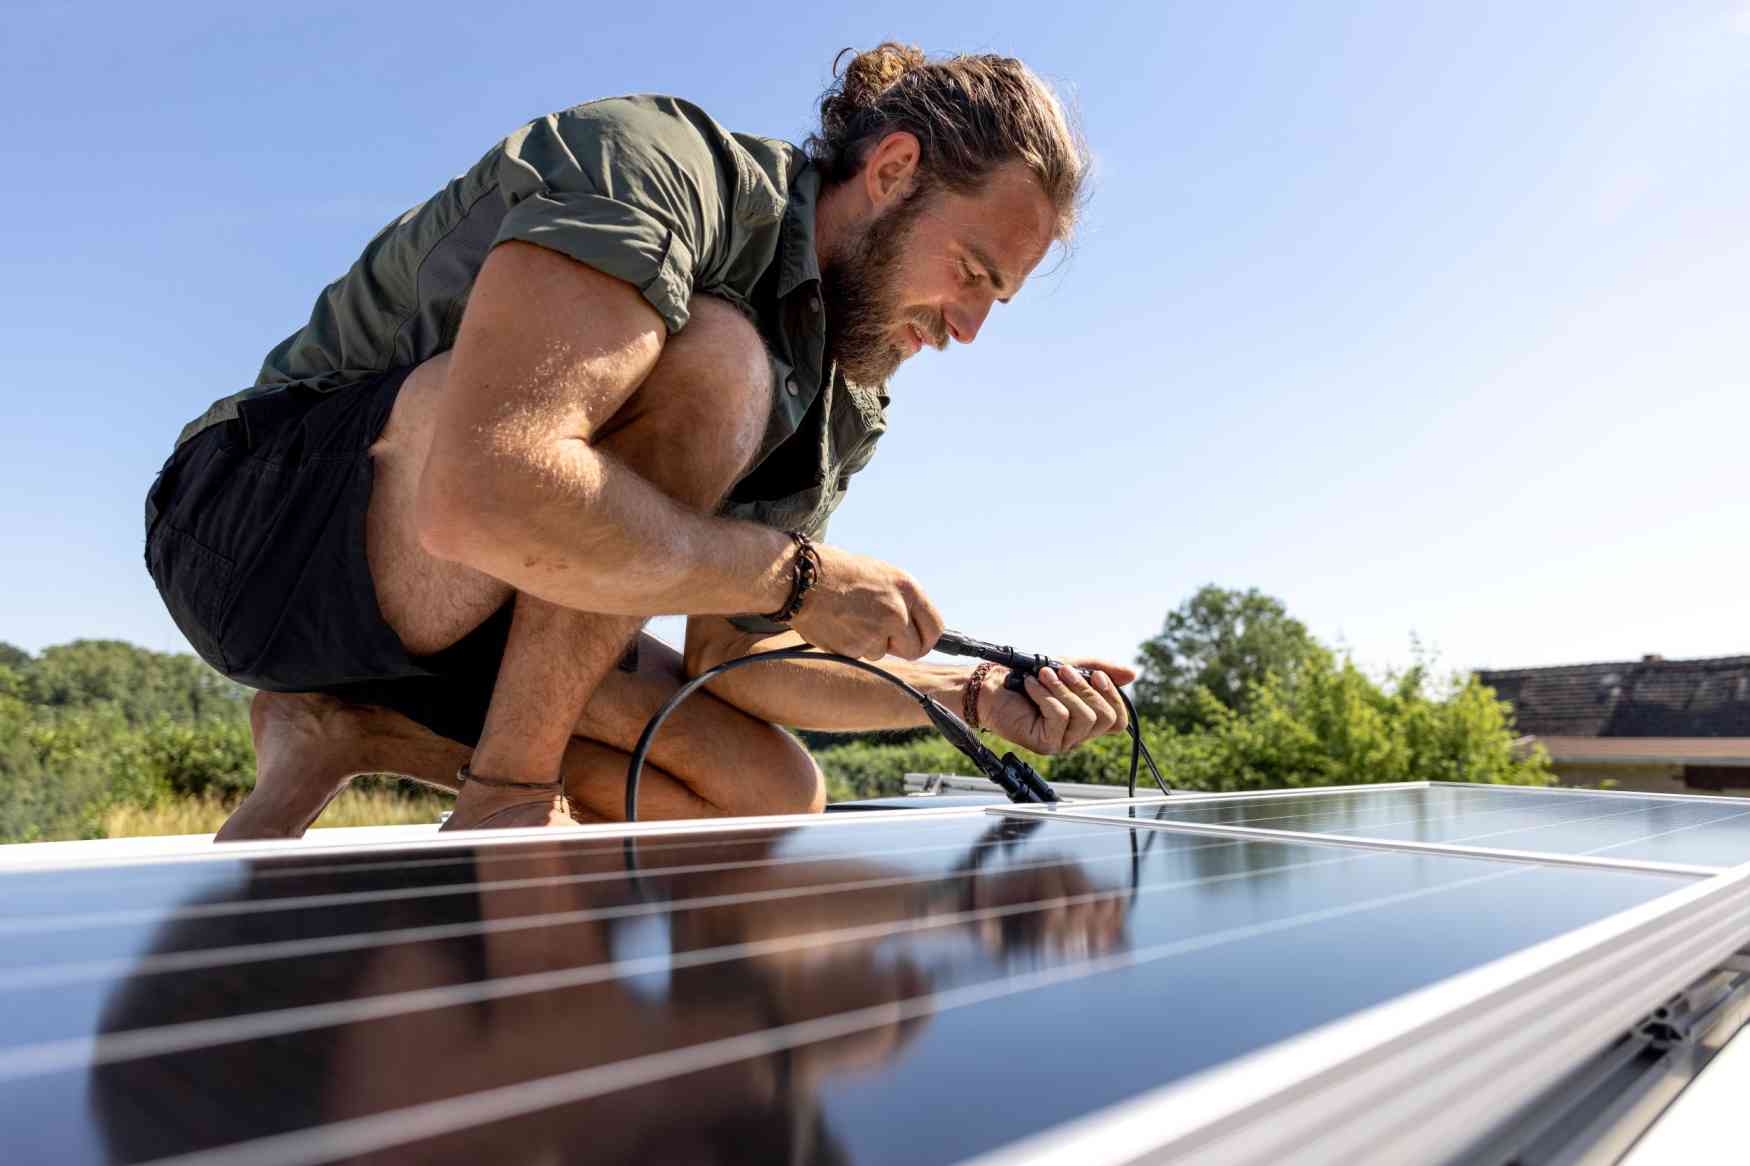
Do you love taking trips with your Recreational Vehicle (RV) because of the allure it brings? Part of the whole trip’s charm is attributed to the comfort of the RV.
Luckily, RV customization, where you add the amenities you need for your trips, is possible. These amenities include a refrigerator, TV, oven, microwave, and working tools like a laptop. As you incorporate these items, they have one common need: electricity.
How do you provide your RV with electricity? One of the solutions involves installing solar panels on your RV. How will you do this, you might wonder. Here’s a guide to assist you:
Table of Contents
Gather The Necessary Materials For Installing Solar Panels
Gathering the necessary materials before starting the solar panels installation is crucial. It prevents wasting time.
The main equipment for installing solar panels is an RV solar generator. It’s made of solar panels, a charge controller, a battery, and an optional inverter.
The solar panels will capture sunlight and convert it to electricity. It’s important to get the right number of solar panels. The number depends on your RV’s roof size and the weather. The larger the roof, the more panels you can accommodate. If you travel in cold areas, installing many panels is the best option because you want to absorb as much sunlight as possible.
On the other hand, the charge controller controls the electricity that goes to the battery from the panels. Its main purpose is to prevent damage to the batteries.
With the batteries, ensure you get the right capacity suited for your needs. It’d help to determine the electricity you need to power your appliances. Lastly, the inverter converts Direct Current (DC) to Alternating Current (AC.)
Alas, buying solar generators is confusing for most first-time buyers. Purchasing a pre-configured solar panel kit with all components intact is key to lessen the hassle.
The other accessories you’ll need to install the solar panels are the solar panel cable, sealant, mounting brackets, drill, drill bits, heat gun, multimeter, and ladder.
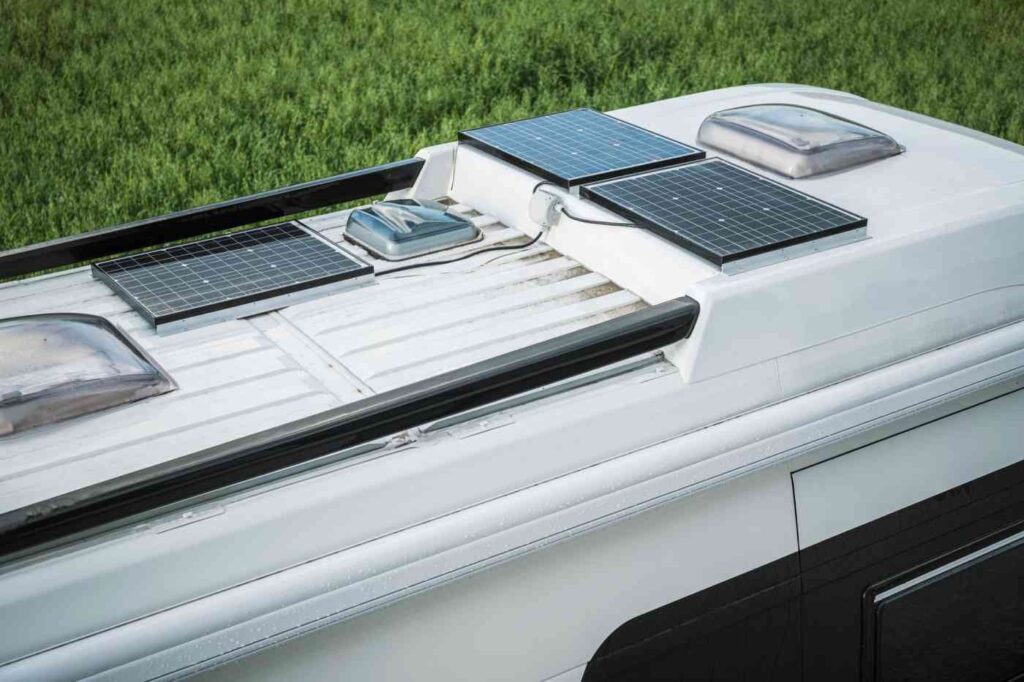
Map Out The Panels Layout
Before installing your solar panels, you need to prepare a layout on how they’ll be installed on your RV’s roof.
You can prepare the layout on a piece of paper, map the layout on a computer software, and so on. Most solar companies come with a booklet containing instructional materials to help you install your solar.
Correctly mapping out your solar panels ensures an efficient solar system for your RV.
Install The System
After mapping out the plan, it’s time to get down to business and install the system. You’ll need to do the following:
- Mount The Panels
Mounting the panels is the first step when it comes to installation. You can use screws or adhesive, depending on your chosen solar panels. Rigid panels require you to nail them down to your RV’s roof using screws, whereas flexible ones require adhesives.
For rigid panels, you can opt to use mounting brackets. However, apply a sealant at entry points to your RV to prevent water entry. Adhesives differ in terms of efficiency. Ensure your chosen adhesive will effectively work with your RV’s roof material.
Ensure you lay the panels flat against your RV, keeping them away from your Air Conditioning (AC) vent. The latter prevents a shadow effect that might interfere with your use of the solar system.
- Run The Wiring
The wiring should run from the solar panels to the charge controller. Nonetheless, you first have to bring in the wires from outside the RV indoors.
The ideal entry points are through your fridge’s vent or plumbing pipe. These options don’t require you to drill a hole on your RV’s roof.
If you can’t use any vent or plumbing pipe, drill holes into your RV so that the wires have somewhere to go. Ensure you seal for water protection.
- Connect The Wires To The Charge Controller And Battery
Start by mounting the charge controller close to the entry point of the wires. It prevents too much wiring from running down your RV. Follow this with the wiring from the panels to the charge controller and then the battery.
Be keen on connecting the positives and negatives; the solar’s instruction manual is essential at this stage.
- Connect The Inverter
As previously stated, the inverter converts DC to AC. For this to happen, there has to be a direct connection between the inverter and the battery. Proceed to make the connection, taking note of the positive and negative wiring connections.
Conclusion
You might have thought installing solar panels on your RV is an impossible task. Nevertheless, the discussion above proves that notion otherwise. Consider implementing this guide as you undertake the solar panels installation project on your RV. Should you find it too challenging to do independently, seek expert assistance.
Read: What Is Solar Energy Used For? A Guide
Pranay, a coding maestro weaving digital magic with Dot Net,Angular. With 4+ years in web development,he specialize in crafting seamless solutions. Beyond coding, Pranay is a wordsmith, passionate about sharing insights through guest posts. Whether crafting code or narratives, he bring creativity and precision to every project. Connect to explore his coding journey and delve into the world where tech meets storytelling .follow us on X