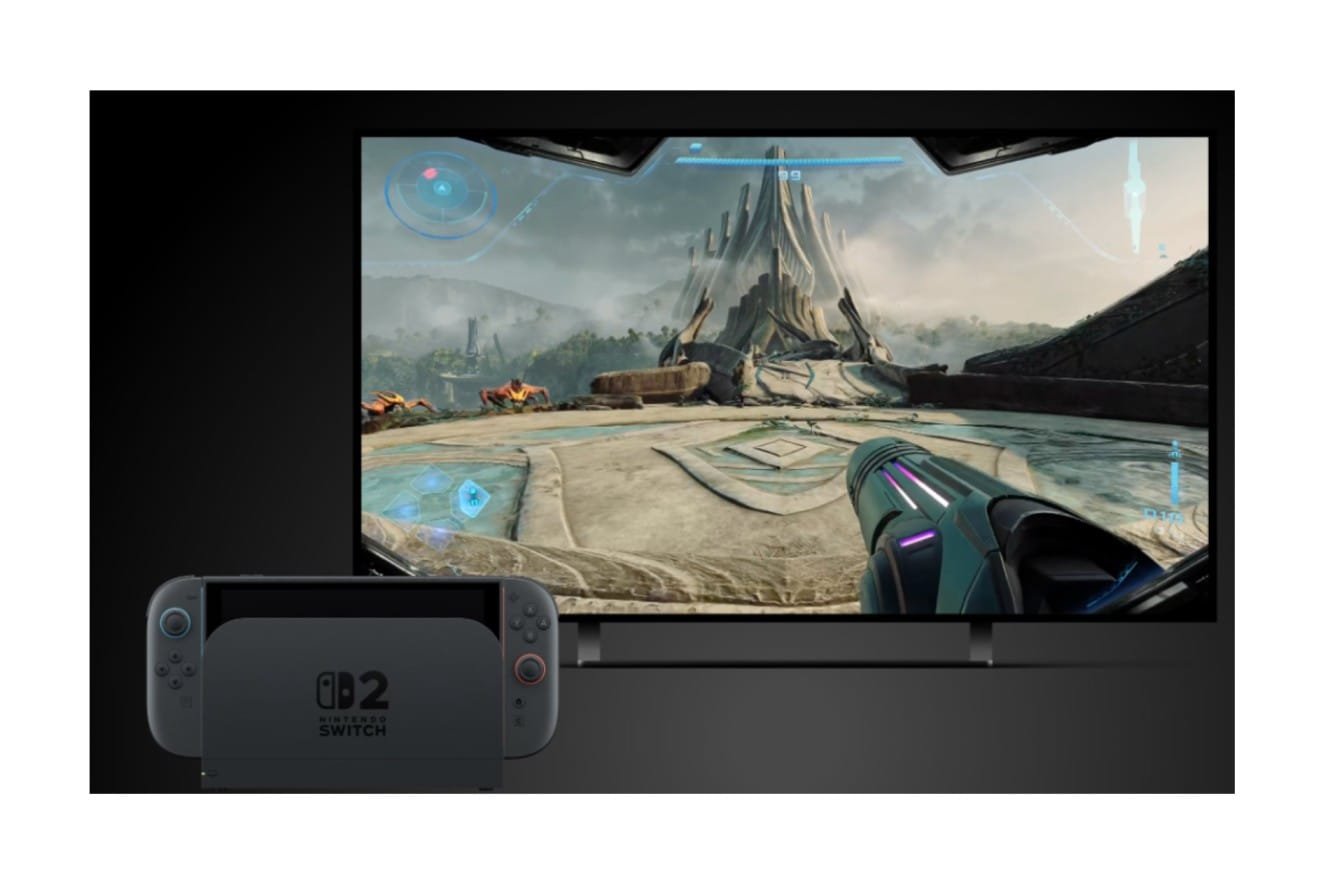
Here’s a simple guide to hooking up a Nintendo Switch 2 to a TV. Plug the dock into the mains power, connect an HDMI cable from the dock to the TV, select the HDMI input, and place the console into the dock. Job done. The rest of this guide covers calibrating the display, configuring controllers and audio, and what to do if the screen stays blank. This information is aimed at first-time setup, including parents setting up a console for children, and upgrading from the original Switch.
Table of Contents
What you need before you start
- The Switch 2 dock (which comes in the box)
- The authentic Switch 2 power supply.
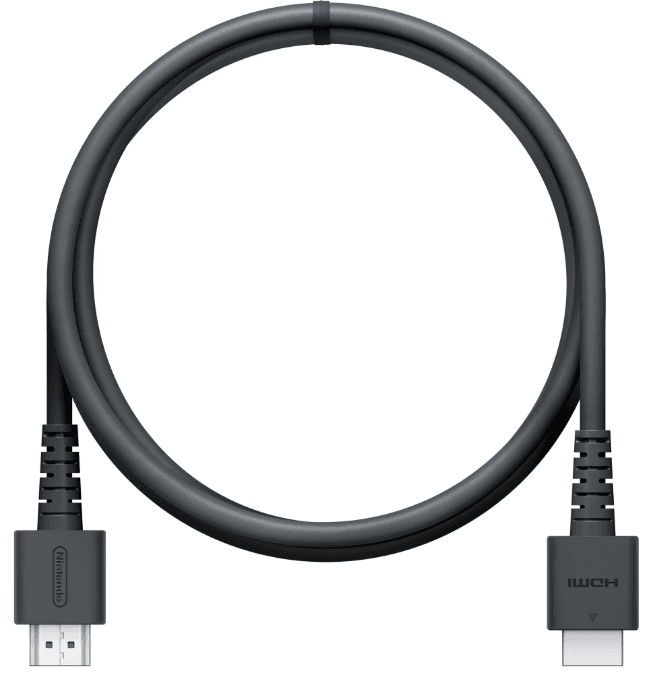
- An HDMI cable (the official set comes with an Ultra High Speed one) cable
- A TV or monitor with a free HDMI input
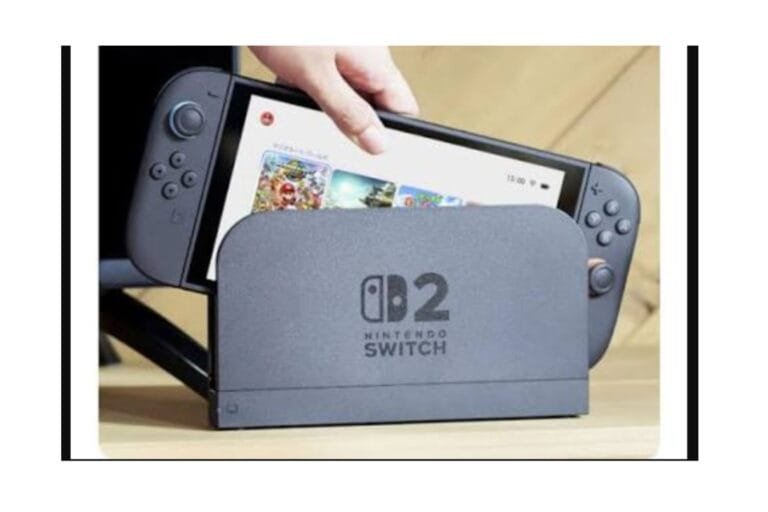
One difference is that the original Switch dock isn’t compatible with Switch 2. As listed on the Nintendo website, it’s not compatible, so if you’re upgrading, you’ll need to buy the new dock.
How to connect Switch 2 to a TV, step by step
Step 1: Connect the AC Adapter to the dock’s AC Adapter port and to a wall socket. (It’s safest to use a wall socket during setup, as a power strip adds another variable at risk. )
Step 2: Plug an HDMI cable into the dock’s HDMI port, then into an empty HDMI socket on the TV. Push both hard home. Too many blank screens seem to hide a loose plug behind them.
Step 3: Turn on the TV and set the source to the input you plugged into. Remember the number (HDMI 1, HDMI 2, etc.). You’ll need this again if the image doesn’t come up!
Step 4: Dock the console. Place the console into the dock so the display faces the front of the dock, and the console fits comfortably. The console’s screen will turn off, and the image should appear on the TV.
Step 5: Watch the TV output light on the front of the dock. This is the first indication that the system knows if something’s not right.
Many TVs automatically switch to the correct input when you dock the console. That happens if your TV supports it – it requires a feature called CEC, which some manufacturers use a special brand name for (Anytime+, Simplink, Bravia Sync and more). If your TV doesn’t do it automatically, it’s turned off in the TV’s setup, or not supported – do it manually.
Set up controllers
In TV mode, you don’t need to hold the console, so remove the controllers. The Joy-Con 2 controllers slide off the sides and pair wirelessly, either in hand or in a grip. If you prefer to use a different pad, a compatible Pro Controller can be wireless as well.
A couple of things can trip you up here. First, if the controller isn’t working, make sure it’s paired to the console itself and not just connected to it. Second, the two USB ports (USB 2.0 compatible) on the dock are for wired accessories, such as adapters; they don’t work as a charging dock for a Joy-Con. According to Nintendo’s support info, the dock’s USB ports are powered when the console is docked, whether in sleep or active mode.
Change the settings that affect picture quality.
Your first connection often generates a picture. Quality depends on the TV’s settings and the console’s output settings. Do this now.
Step 1:Turn the TV into Game Mode. Virtually all TVs default to some form of heavy processing, which can cause motion blur and input lag. Game Mode turns off most of that. This is usually the number one fix for a TV that looks “wrong” in TV mode.
Step 2: Select the correct HDMI port. If you have a single port that supports higher bandwidth, use this one. At least one TV control considers this, so you may need to enable the setting for each port from “HDMI Enhanced,” “Input Signal Plus,” or “High Bandwidth” to get a high-resolution signal.
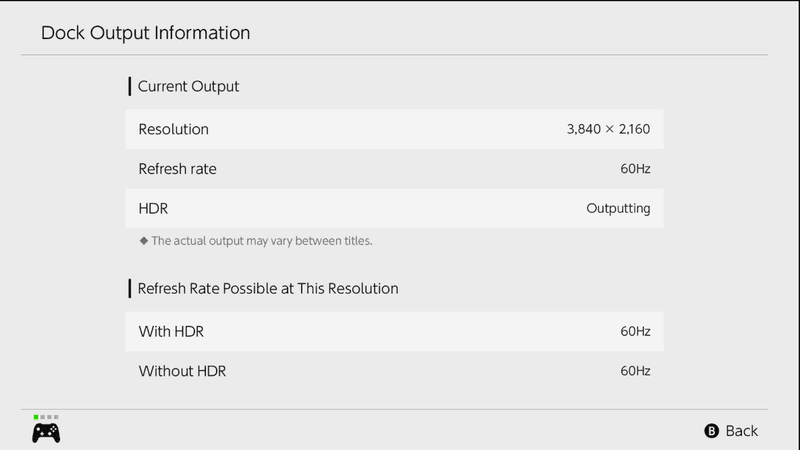
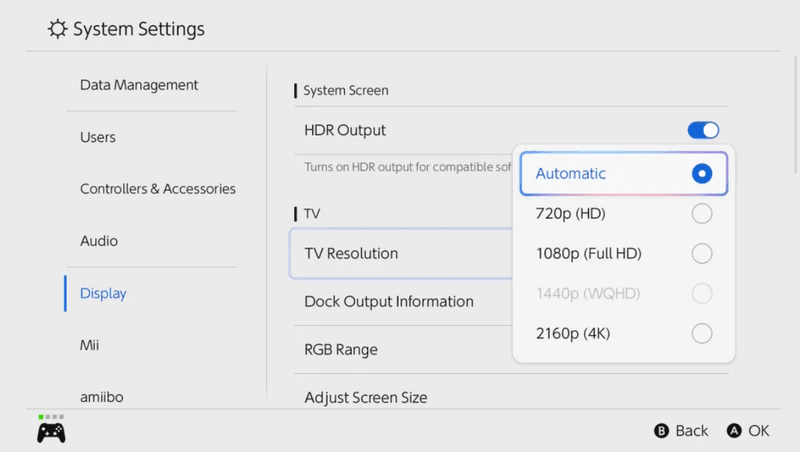
Step 3. Access the TV output menu on the console. Navigate to the console’s system settings and locate the TV output menu. You can keep the resolution in automatic mode. If the TV can display at 120 Hz, find the 120 Hz option and enable it. Menu names vary after system updates, so look for the closest option.
Step 4: Verify HDR. If the colors appear faded or overly bright, the console may have HDR enabled on one input but not the other. Enable HDR on both the TV input and the console.
Step 5: Don’t be convinced by the “4 K” label. Switch 2 can display up to 4K at 60fps in HDR10 for TV mode, and up to 120fps at lower resolutions (1080p and 1440p). Whether you reach those limits depends on the game. A game can run at 1080p or less even if you’re on a 4 K television, and only some games offer a choice of 120 fps. So if one game looks softer, that’s not your cable; it’s the game.
Get sound through the TV.
Audio is sent over the same HDMI cable, so the TV speakers are the default and will play all sound. When using a soundbar, connect the Switch dock to the TV, then connect the soundbar to the TV’s ARC or eARC. Do not put a soundbar between the dock and the TV; this keeps the video chain short and avoids handshake issues. You can pair wireless headphones to the console for private listening using the console’s controls.
If the TV shows no picture
Work through these one by one, testing after each. If you try to change everything at once, you’ll never know what fixed it.
Step 1: Test in handheld mode. Remove the console from the docking station. If it still functions normally, the console is fine, and the dock, cable, power, or TV chain is at fault.
Step 2: Make sure the TV input is set to the right port. Use the up/down buttons to traverse the inputs. Sometimes you think your TV is set to HDMI 1, but it’s actually on 3.
Step 3: Reseat everything. Remove the power cable/AC adapter and the HDMI cable (both ends). Remove the console. Then reinstall the power/AC and HDMI cables first, then the console.
Step 4: Use the official AC adapter. A moderately cheap or even generic adapter might power the dock but will not provide the console with any power actually to boot TV output.
Step 5: Test with another cable and port. You may be using an inexpensive cable that’s too old to work. Use an Ultra High Speed cable and try a new port at the back of the TV.
Step 6: Connect directly to the TV. Remove splitters, HDMI switches, capture cards, and AV receivers. If you get a picture with a direct connection, add these devices back one by one until the interference returns.
Step 7: Turn off the console and turn on the TV, first by restarting it and then powering it off completely, not even sleeping. If the problem persists, power-cycle the TV as well.
If this doesn’t work, search the exact name of your TV brand and model with “Switch 2”; someone may have a workaround. Some TV models have port quirks or require a firmware update.
If the picture looks wrong
A picture that shows up but looks bad usually has one of these causes:
- Blurry or laggy: The TV is using a non-game picture mode. Enable Game Mode.
- Flickering/flashing or color issues: An older TV may have trouble with the 4K and HDR handshake. Try a different port, a better quality cable, or disable HDR.
- Black screens occurring suddenly: Usually a cable or a splitter. Remove those and retry the direct connection test above.
- Oops, low resolution: Make sure you’re using the console’s TV output options and that the game itself supports a higher mode.
Other ways to connect to a TV
The official dock is the recommended option, but it isn’t the only one!
Additional official dock. Nintendo ships this as a package with the AC power supply, a USB-C cable, and an HDMI cable. That’s the safest second-TV choice, and it costs a lot. As I write this (October 20, 2026), Nintendo’s online store in the US lists it for $124.99; check your local store.
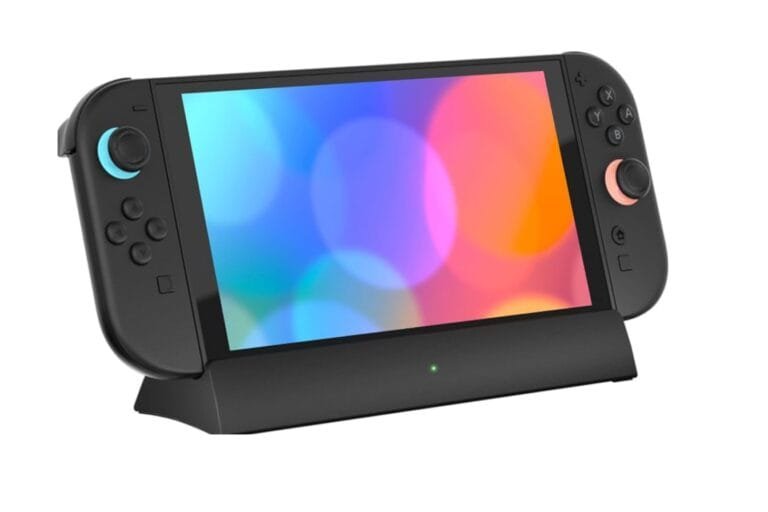
A third-party dock. These are cheaper and smaller, so they’re easier to travel with, but compatibility can be slightly less predictable. Several third-party docks stopped working when the Switch 2 launched on 5 June 2025, and many were later updated through firmware to fix them; it is also reported that a later update corrupted Video output on some third-party docks. If you decide to purchase one, make sure the listing explicitly states support for the Switch 2, and bear the return window in mind.
Capture cards and splitters. Great for most, but far from the most reliable for signal, with the dock’s HDMI signal not always appearing clear. Try the console directly on the TV first, then use them.
This is our guide to the Switch 2 dock, including port details, replacement docks, and buying advice.
Wrapping up
Connecting the Switch 2 to the TV takes a few minutes: power, HDMI, input, console. Most issues aren’t in the dock but in the TV settings, or somewhere in the HDMI chain; test with a direct connection and a good cable to rule those out first. Turn on Game Mode, and browse through TV output options. The image should look normal when there are no issues. For anything else about the console, check out our Nintendo Switch 2: Complete Guide.

I’m a content writer passionate about games and strategy. I’m dedicated to creating engaging, informative content for today’s audience. I keep a close eye on the latest gaming and industry trends to deliver entertaining, informative articles. Whether it’s exploring new tools or analyzing the sport, I bring a new, accessible voice to each episode. Let us connect and enhance your content with knowledge and insight!